Easy DIY bubbly lava lamp
Get ready for an exciting and magic adventure as we learn how to make our very own lava lamp!
Lava lamps are so cool to watch, and now you can make one right at home. This simple DIY project will teach you a bit about science and be fun to make with your friends and family. Grab a few household supplies and give this colourful activity a try!
You will need
-
A big jar or clear plastic bottle with lid -
Vegetable/cooking oil or baby oil -
Vitamin C effervescent tablet -
Food colouring (your favourite colour) -
Water
CAUTION
Adult supervision is recommended for this craft project. Do not touch or drink the liquid solution.
Step 1
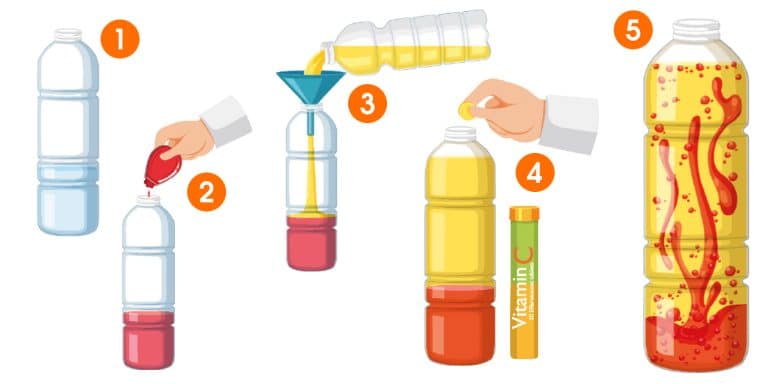
Make sure your bottle or jar is clean and dry. It must be a clear container so that you can see the fantastic colours of your lava lamp. Fill it one-third with water.
Step 2
Add a few drops of food colouring into the water. You can use liquid or gel food colouring, depending on what you have at home.
Step 3
Now, fill the rest of your container with oil. Because water is heavier than oil, the two will separate and the oil will move to the top of your jar or bottle. Don’t worry – it’s all part of the magic!
Step 4
Here’s the fun part: add your vitamin C effervescent tablet to your mixture. The fizzy tablet will react with the water, creating floating bubbles of colourful fun!
Step 5
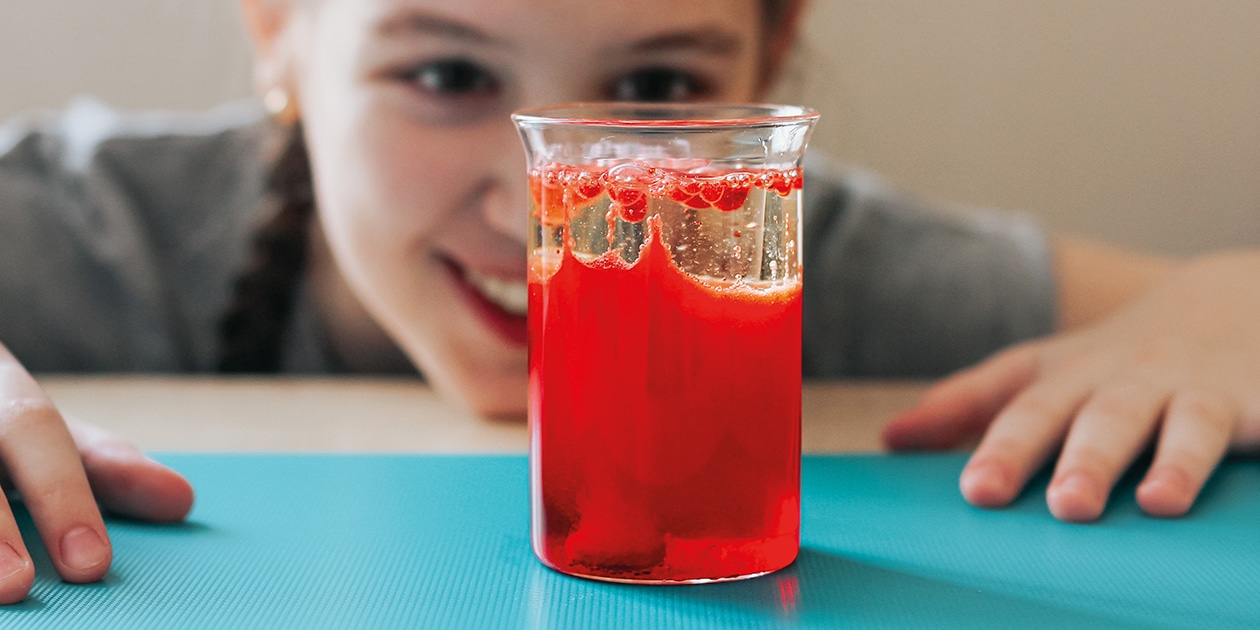
Watch as the bubbles float up and pop at the surface and then sink back down, creating a cool lava lamp effect. And there you have it – you’ve created your own lava lamp. Next time, add more colours for a rainbow effect.
COOL TIP
To add a glowing effect, use a torch, lamp or the light of a cellphone to light up your bottle or jar.

Latest Jet club magazine
We’ve got the latest trends, exciting prizes and exclusive savings just for you!
Jet Club will not pass your details to anyone else. By clicking the subscribe button you confirm you have read and agree to the Jet Club Terms and conditions and Jet Club Privacy Statement.
Subscribe