Here’s how you can keep your summer nails looking fabulous… 

We’ve all been there —  you’re rocking a gorgeous summer manicure and then, all of a suddenyou’re dealing with chips, flaking, fading or dryness thanks to the sun, chlorine or sand. While the solution might be multifaceted, involving choosing the right nail polish, avoiding harsh chemicals and doing regular touch-ups, it can be simpler than you think. We’ve got some expert tips and tricks to share for keeping nails looking fresh and flawless all season long. 

Step 1: 

Prep your nails 

Before applying polish, make sure your nails are squeaky clean and completely dry. Remove any oils or lotions from your nails and surrounding skin because these can interfere with polish adhesion. Use a gentle nail cleanser to wipe down your nails and remove any residue. This will help ensure a smooth and even application of polish. 


Next, always apply a base coat — it protects your nails, promotes polish adhesion and boosts the longevity of your manicure. Look for a base coat that contains ingredients such as keratin or calcium to help strengthen your nails and prevent breakage. Some base coats also contain nourishing ingredients such as vitamins and antioxidants to promote healthy nail growth. If you have weak or brittle nails, look for a base coat that’s formulated to help fortify and strengthen them. 

Step 2: 

Choose the right polish 

It’s not only about bright, bold, statement colours that are perfect for the season. Make sure you opt for a polish that’s specifically designed to stand up to summer. Look for chip-resistant formulas that contain UV protectants to help prevent fading and discolouration. Also consider a polish with a built-in topcoat or a gel-like finish for added shine and durability. 

When selecting a nail polish, make sure to read the ingredient label and choose a formula that’s free from harsh chemicals and toxins, such as formaldehyde, toluene and DBP (dibutyl phthalate), which can be damaging to your nails. Instead, opt for a polish that’s labelled as “three-free” or “five-free” — free from these and other harsh chemicals, giving you great-looking nails that are protected from chemicals that could cause dryness, splitting or even an allergic reaction or infection. 

Step 3: 

Top it off 

Always apply a topcoat to seal in your polish and add shine. As with the nail varnish, look for a topcoat formula that’s designed to protect against chipping and fading and which contains a UV shield. Some topcoats also contain nourishing and moisturising ingredients, such as argan oil or keratin. 

Apply a thin layer of topcoat to each nail, making sure to cover the entire surface. This will help ‘lock in’ your polish and add a glossy finish. Be patient and let it dry completely before touching or handling anything to prevent smudges and fingerprints. 

Step 4: 

Moisturise, moisturise, moisturise 

To prevent brittleness and breakage, it’s essential to keep your nails and cuticles hydrated. Use a nourishing cuticle oil or cream regularly, especially after washing your hands or taking a bath or shower. Look for a product with ingredients such as coconut oil, shea butter or vitamin E to help lock in moisture and promote healthy nail growth.  

Words: Emma Mbuthuma 

Photography: Pexels 


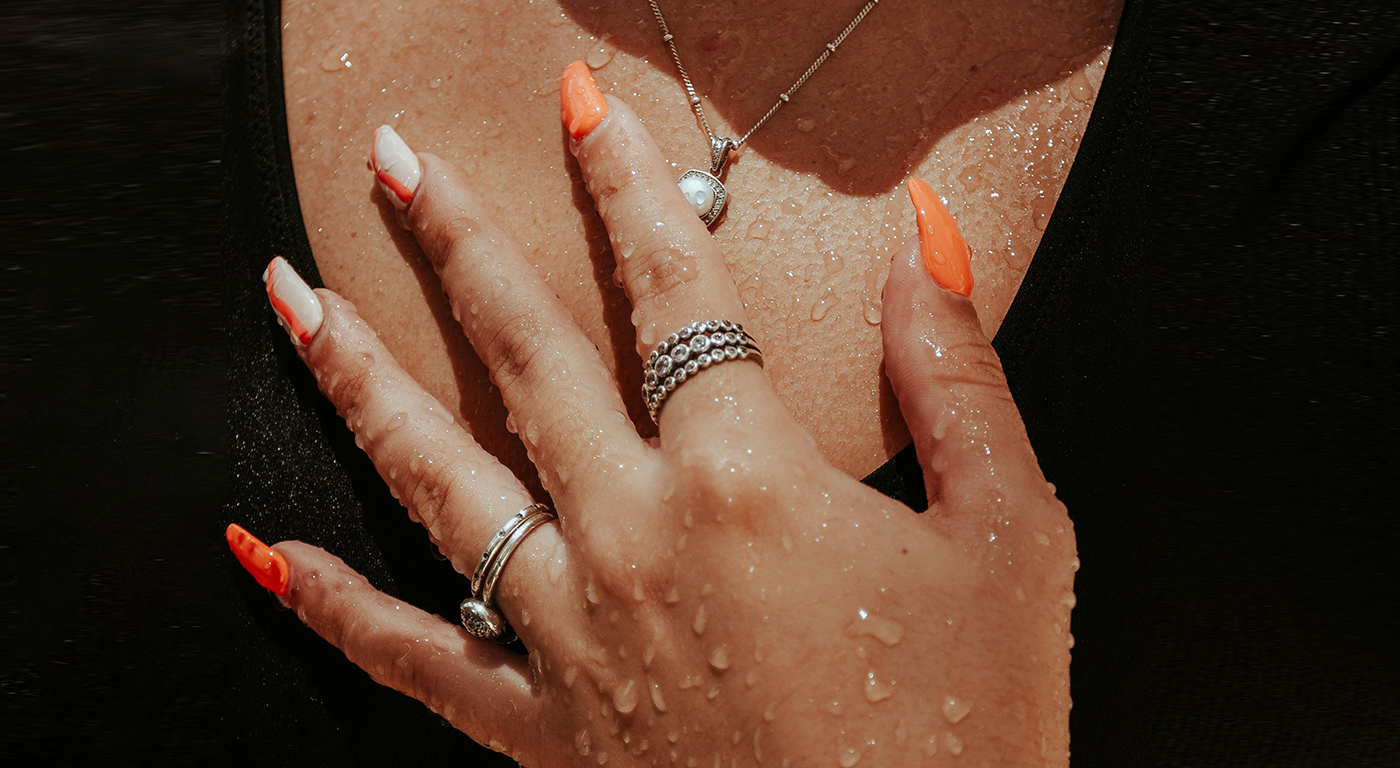
How to keep your summer nails looking fab 
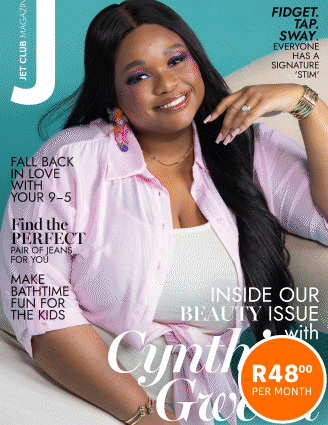
Latest Jet club magazine
We’ve got the latest trends, exciting prizes and exclusive savings just for you!

Jet Club will not pass your details to anyone else. By clicking the subscribe button you confirm you have read and agree to the Jet Club Terms and conditions and Jet Club Privacy Statement.

Subscribe